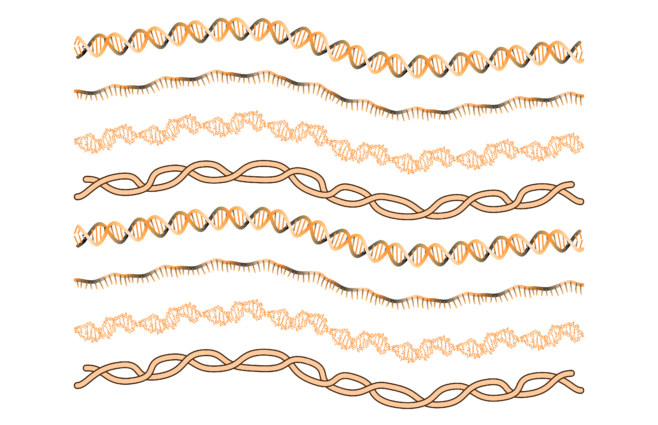
4 different brushes that look like DNA/RNA that can be applied to any path in Adobe Illustrator. These are helpful for making diagrams about transcriptional signaling, or just making a boarder for a flier or slide. This links to a ZIP file with copies of the brushes for for Adobe AI CS2-6. Download Here.
These brushes are free for you to use under CC0 1.0 Universal (CC0 1.0) Public Domain Dedication. You are not required to give any attribution, but I am totally flattered when people do choose to cite me. (Kate Baldwin, K8Baldwin.com)


2 Replies to “DNA Brushes for Adobe Illustrator”
Hello,
Thanks for making these resources available – will of course acknowledge you anywhere I use them.
I’m having trouble though: I downloaded the file but the brushes aren’t showing in the brush palette – any ideas? I think I am using a different version of Illustrator (2019) as when I opened the file it said some content may be lost between versions. Is there anything I can do?
Thanks so much for your help!
Beth
Thank you for writing in! I’m surprised that they are not showing up because they were made in a much older version of AI, and I still see the brushes in the brushes pallet in my latest version of AI. But it’s no problem because you can use the file to make a new brush. First, select just the straight version of the DNA drawing (to the right of the arrow by its name. You might need to un-group things in order to select just the DNA you want. If you are doing one of the pattern brushes, select just the middle portion of the DNA, not the end caps.). Second, drag the DNA drawing on top of the brushes pallet. A pop-up should appear asking you what type of brush you want. Select either Pattern Brush or Art Brush, as specified in the title of the DNA drawing you selected. It will then pop-up with more details of the brush settings. The only one you should need to mess with is the colorization settings (You probably want hue shift or tints and shades, depending on which brush you choose). For some of the brushes, you are now done! But for the pattern brushes with end caps, you will now select just the end cap drawing, and hold down ALT or OPT (on Mac) while you drag it on top of the brush you just made in the brushes pallet. Specifically, the left end cap needs to be dragged to the fifth slot in the pattern brush display, and the right end cap needs to be dragged to the sixth (last) slot. If this doesn’t make sense, check out this video: https://youtu.be/qZQ1pJVdUcQ?t=813 (although that goes into more detail than you need.) Let me know if it still isn’t working for you!